When we asked readers to share their number one writing challenges with us, two areas of writing came up repeatedly. The first was plotting and planning. The second was worldbuilding. So we're excited to bring you two additional writing tools, the Scene Builder and World Builder. Here are 8 ways you use them to develop a more detailed, helpful and inspiring outline:
1. Create and order purpose-driven scene summaries
To start, let's explore the Scene Builder. [This will go into detail - if you're already a subscribed member, try the tool now].
Members' feedback indicated many loved the step-by-step prompts in our story dashboard. (We improved the parts members didn't love as much in the last update to our writing tools).
Yet what was missing was a tool to create the skeletal structure of a story. The way the pieces of your story (your individual scenes) knit together. Members and blog readers alike kept sharing challenges such as:
'I have the first few chapters but I can't work out how the pieces of my story fit together'.
Use the new Scene Builder to create this fit.
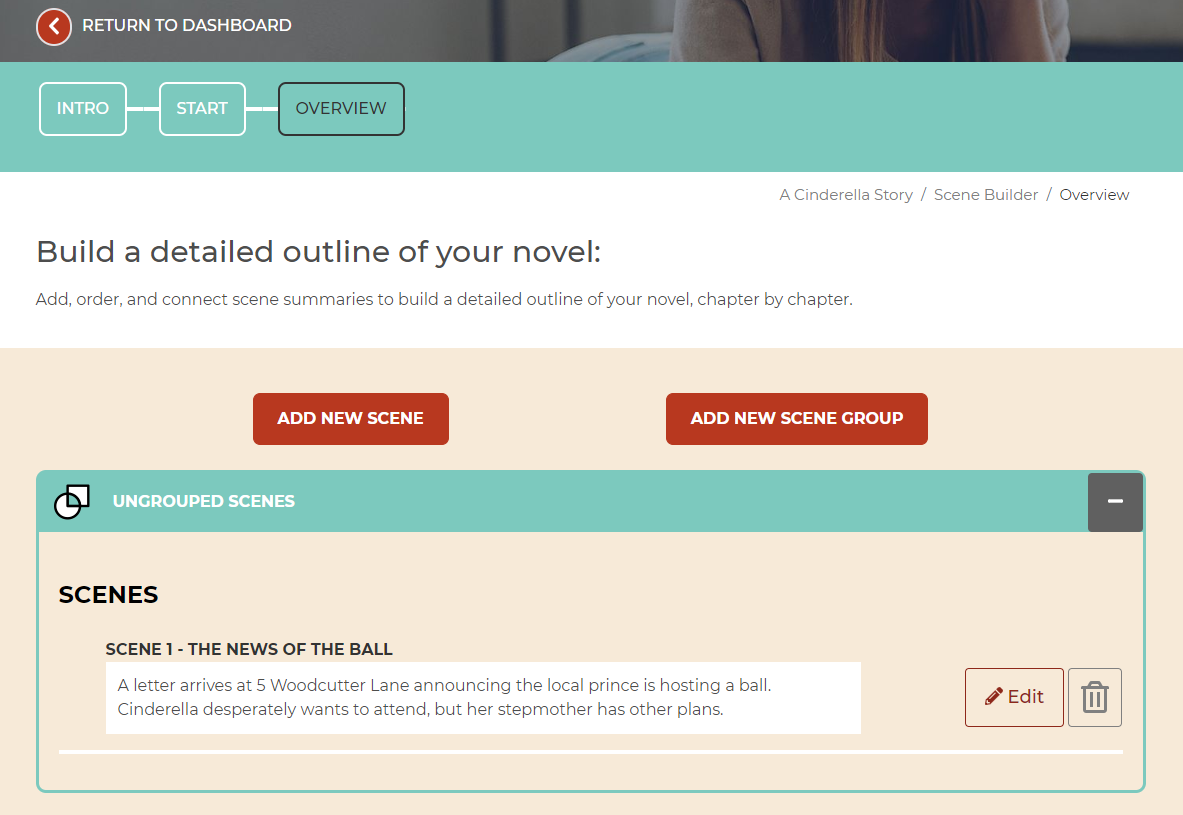
When you open the Scene Builder in your private dashboard, you come to the 'Scene Overview' tab. Choose 'add new scene' and give a story-driven title (e.g. For the classic story 'Cinderella', 'The News of the Ball'). You'll be prompted to add further details (though these only show in the edit flow and in your outline - the overview page gives a summary view for clarity and structure).
Each scene summary you create is added to the overview page. Here you see a list of scenes you've outlined. You see their titles, and - most importantly - their role or purpose in your story, if you've filled in this step. This is the 'so what' of your plot. A summary of why each scene matters. It's automatically added to the story outline you can download from your dashboard.
2. Group scene summaries into larger units such as chapters or episodes
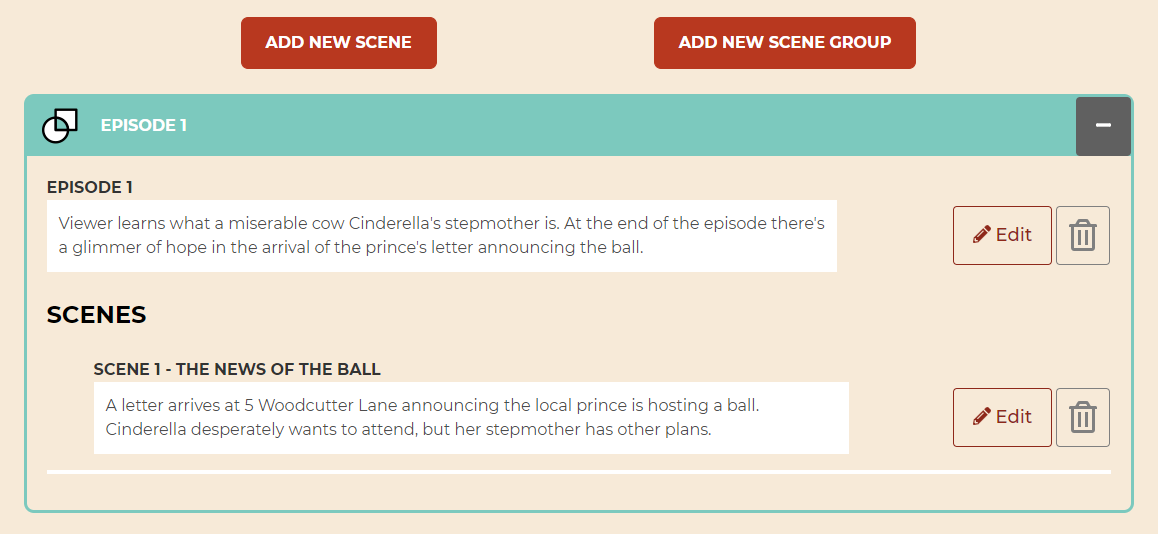
Whenever you add a new scene, this adds a summary to 'Ungrouped Scenes' on the overview page. Create groups of scenes using the 'Add New Scene Group' button. You can order the sequence of scenes you've assigned to your group, as well as episodes or chapters. You're thus free to outline scene or chapter ideas out of order and later arrange them in the order you want.
We've used the term 'scene group' as you could arrange scenes in chapters, acts, parts of a novel (e.g. 'Prologue', 'Main Events', 'Epilogue'), or even episodes (if you're writing a screenplay, for example).
Say, for example, you were adapting the story of Cinderella into a modern TV series. (The way Riverdale adapted the Archie comics universe). You could add a new scene group, call it 'Episode 1', and outline what your pilot episode will cover:
3. Order or sequence key scenes in your story
Writing novel scenes in sequence isn't always necessary. But keeping track of what you've written (and how it connects together) definitely is.
Sometimes an idea for a scene somewhere in the middle of your story just pops into your head. Use the scene builder to get these events down. Find their order when you're ready to group them into units. Or create chapters as you go - it's up to you.
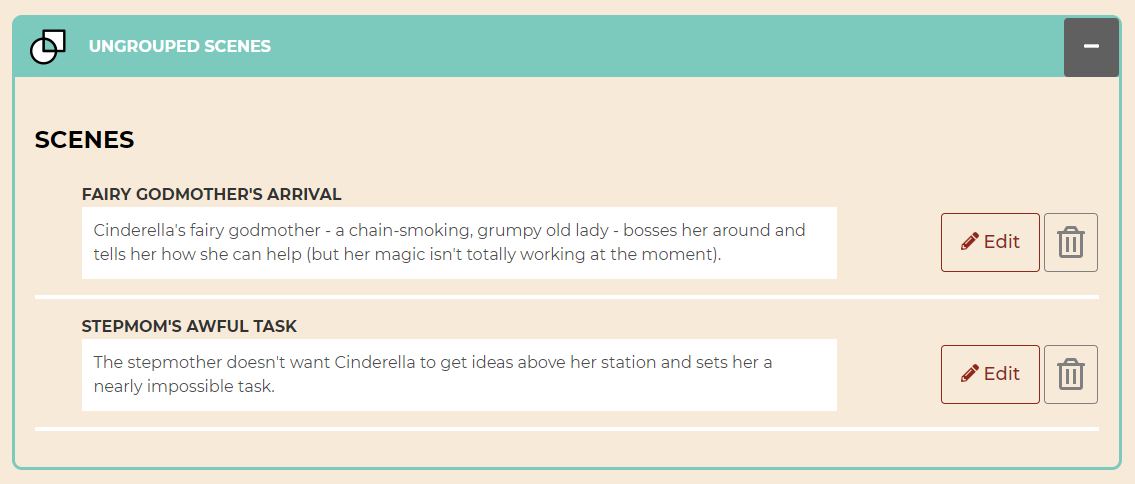
Say, for example, you want to include the Cinderella scene where her fairy Godmother helps her prepare for the ball. You decide you also need to show the cruel stepmother setting Cinderella an impossible task. The task creates stakes - whether or not Cinderella will finish in time to attend the ball.
Here are the two scene outlines created and summarized in the Scene Builder overview:
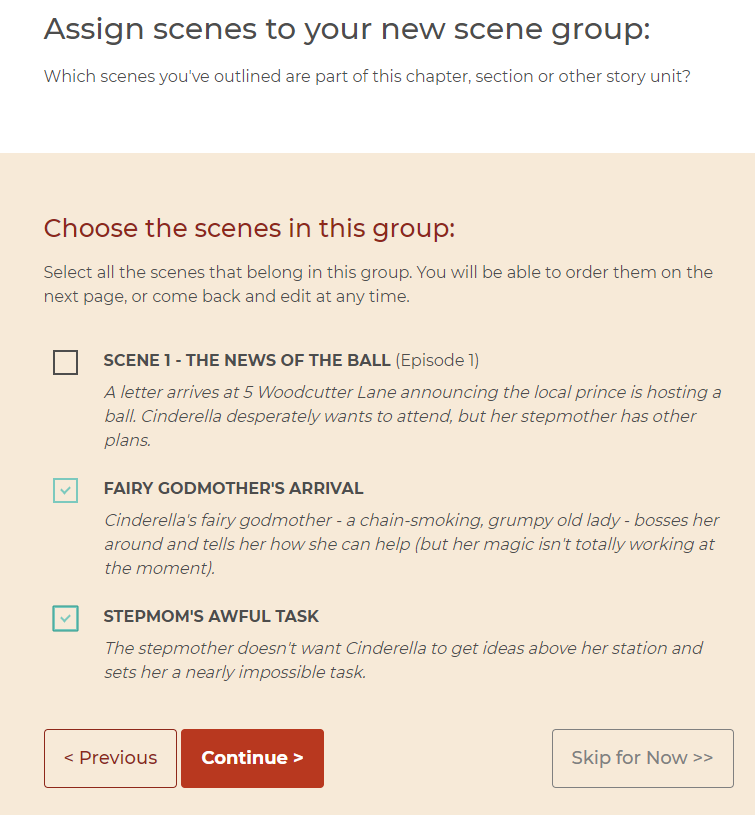
To assign both scenes to episode 2, you would click 'Add New Scene Group' and call it 'Episode 2', then proceed to assign the scenes you want to include in this group and order them:
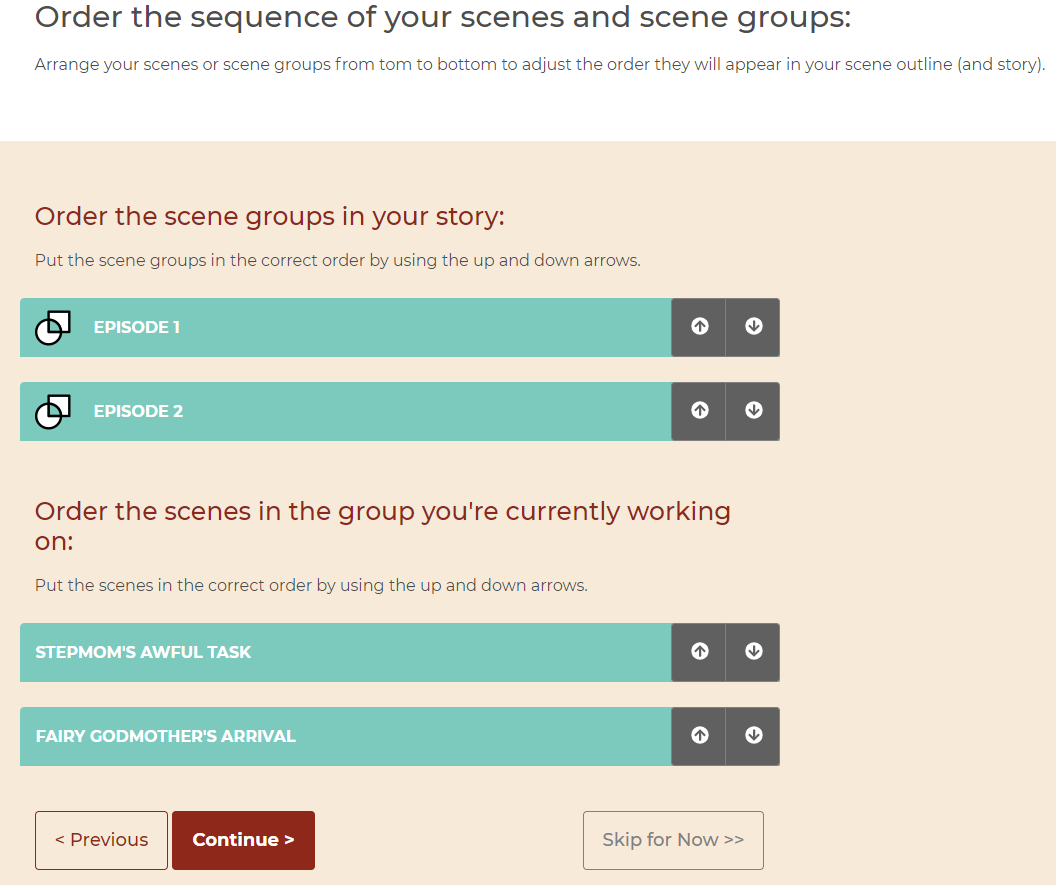
Once you've chosen which chapter, episode or other story segment your scenes belong to, order the sequence of your chapters and scenes in the 'Order' tab of the 'Add/Edit Scene Group' process. Use the simple up and down arrows to move a scene or chapter earlier (up) or later (down) in your story:
These appear grouped in the overview (and are added to your outline PDF in the dashboard in this configuration, too):
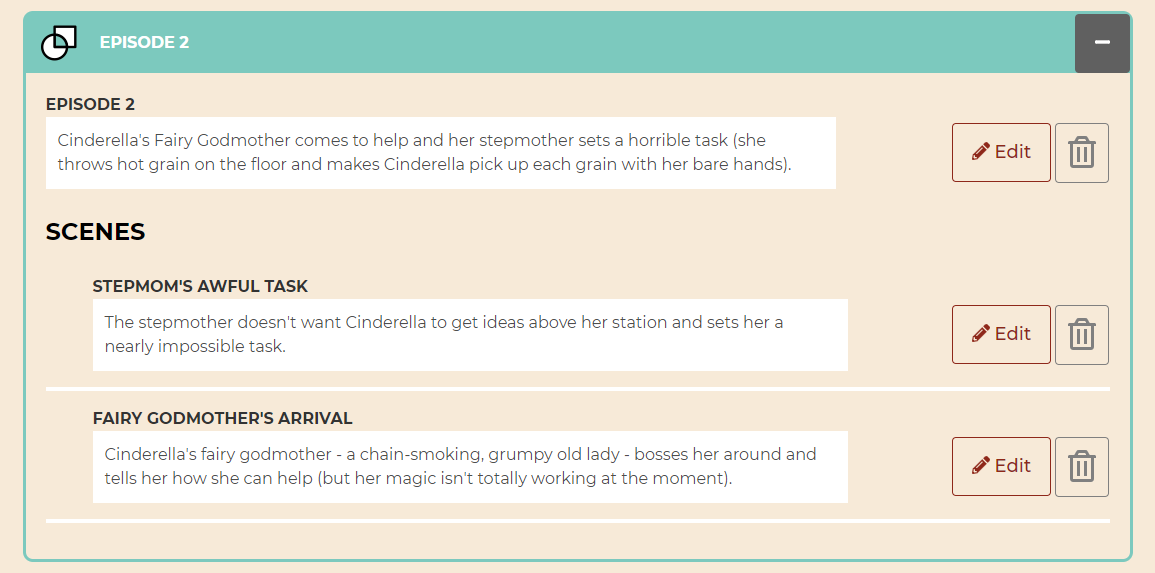
If you decide to delete a scene at any point from a group, it won't affect the flow of your other episodes and scenes.
If you delete an entire group (such as Episode 2 above), the scenes in that group will return to the 'Ungrouped Scenes' list.
4. Assign characters to scenes and scenes to settings
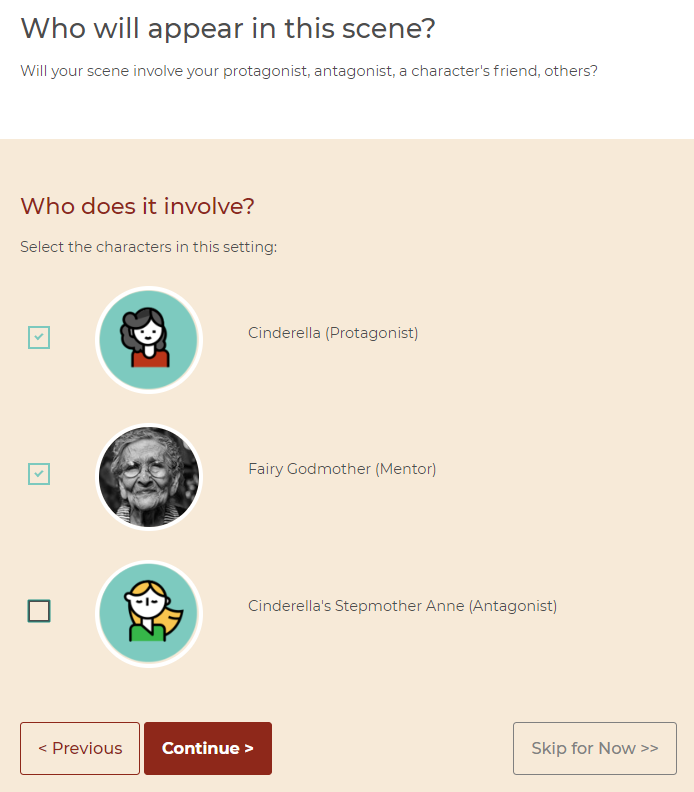
Keeping track of which character appears in which scene is easy in the Scene Builder. When you choose 'Add New Scene' from the overview page in the Scene Builder, you can specify which of your characters (out of those already profiles in the 'Character' section) your scene will involve:
To organise your scenes further, you can also specify where (out of settings already brainstormed in 'Core Setting' and the World Builder) your scene will take place:
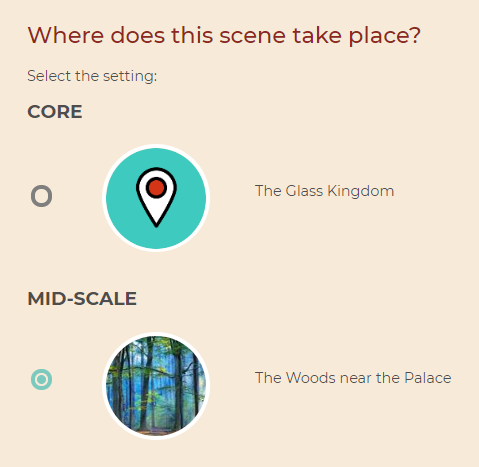
All of these details are automatically added to your outline, so you have a comprehensive overview of where scenes take place and who they involve.
5. Brainstorm settings of different sizes or scales
Moving on to the World Builder tool, we've created a tool to supplement 'core setting' and enable you to invent whole, complex worlds containing individual countries, cities and streets, or simply jot down a few story locations.
You can go into as little or as much detail as you like. For example, if you were writing an espionage novel set across two US cities, you could create two mid-scale settings, naming one after each and fleshing out any visual, cultural or other details relevant to your story.
Here is a single mid-scale setting (the woods) created for the Cinderella TV screenplay idea explored above:
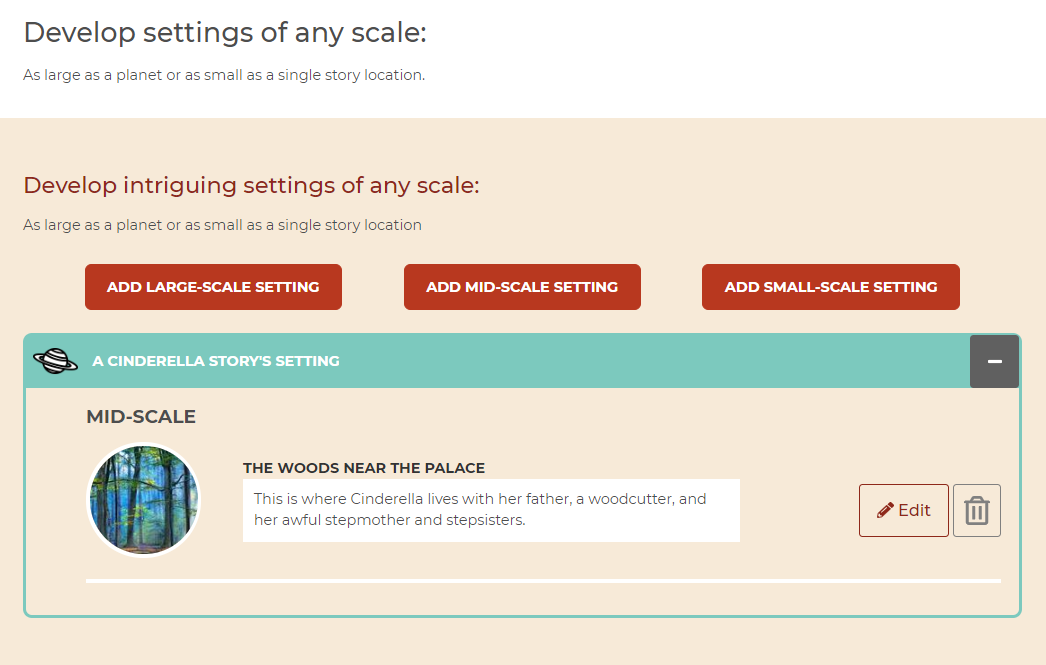
On the overview page, choose between three options. Choose the first, 'Add Large-scale Setting', if you want to brainstorm facts about a whole world, country or other large area. Click the second ('Add Mid-scale Setting') if you want to brainstorm details of a city, town, Kingdom or other smaller region. And choose the third, 'Add Small-scale setting', if you want to find the look and feel of an individual story location.
6. Link and 'nest' smaller settings within larger ones
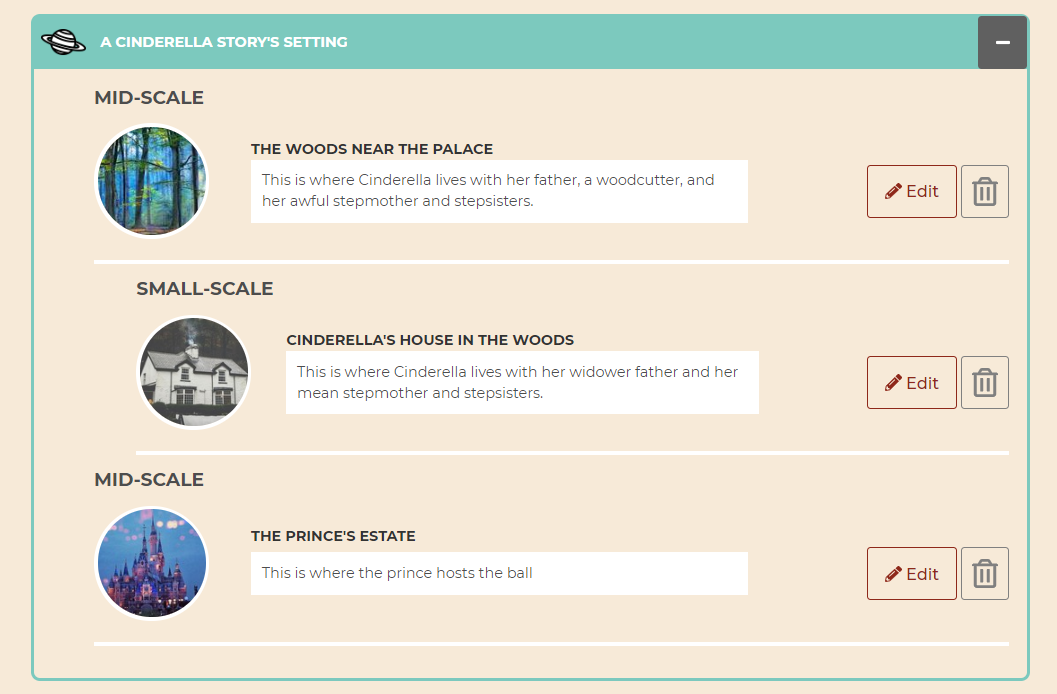
Link your setting ideas to capture where individual story settings lie within your larger world in your outline. This is particularly useful if you're inventing an entire world for a fantasy or sci-fi novel. You could use this summary as an aid if you decide to draw a fantasy map.
Yet you may want to brainstorm details about a country or state for a real-world setting, too. E.g. London (mid-scale) and the Tower Bridge (small-scale).
Here, as an example, we've brainstormed details about Cinderella's house in the woods and placed this small-scale setting or location within the mid-scale one we already created, 'The Woods Near the Palace':
7. Answer prompts to flesh out each story location's details
As with each of the other sections of the Now novel story dashboard, you can use the World Builder in as much or as little depth as you like.
For a large-scale setting, for example, there are sections on landscape (physical features of terrain), people (inhabitants), language (what languages are spoken in this world, country or other place), political systems and more. Essentially, the large-scale elements of a story's world. When adding or editing a setting, jump to the area you want to fill out the navigation bar at the top of the page:

Remember, though, to click 'continue' when you finish a section before using the top navigation to go somewhere else. This saves your progress to the section and your outline! Any changes you make are applied to both automatically.
When you feel you've created enough settings, click 'complete' on the last page of adding any setting. You can also mark the World Builder complete from your story dashboard (and can still add more or edit existing settings any time!)
8. See it all in your private story outline
The Scene Builder and World Builder are fully incorporated into the private story outline you can download from your member dashboard. Each section shows in an overview/summary format first, then gives details scene by scene and setting by setting that you've brainstormed. This way, you have a structured guide to refer back to as you draft, or add more to as your story takes you to new, incredible destinations.
Try the new tools now! (Requires Now Novel membership subscription - or try the 'Central Idea' and 'Character' sections of the tool first for free).




Great stuff, I can't wait to share for #WriterWednesday on twitter.
Elias Mc Clellan - Over 6 years ago
Thanks, Elias! Thank you for reading and sharing our guides.
Jordan At Now Novel - Over 6 years ago
It will be awesome to try these tools. Thanks for sharing this info here. I appreciate that.
Stan Hughes - Over 6 years ago
It's a pleasure, Stan. Drop us a line at help at now novel dot com if you have any feedback!
Jordan At Now Novel - Over 6 years ago